HOW TO INSTALL ECOEAL PLUS SEALANT

Start-Up

1.

Prepare Workspace

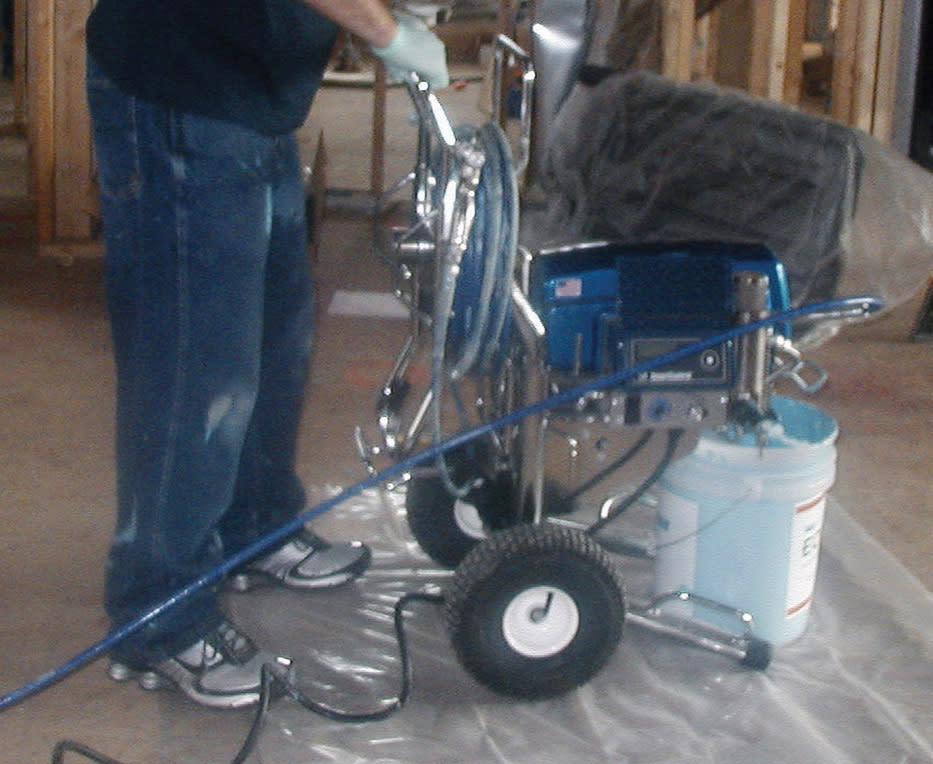
  • Centralize the machine to make sure your hose reaches the areas needing to be sprayed.
  • Lay a tarp or plastic underneath the machine to speed up the clean-up process.


EVv32IIWkAEueOM.jpg

2.

Sealant Bucket & Sprayer

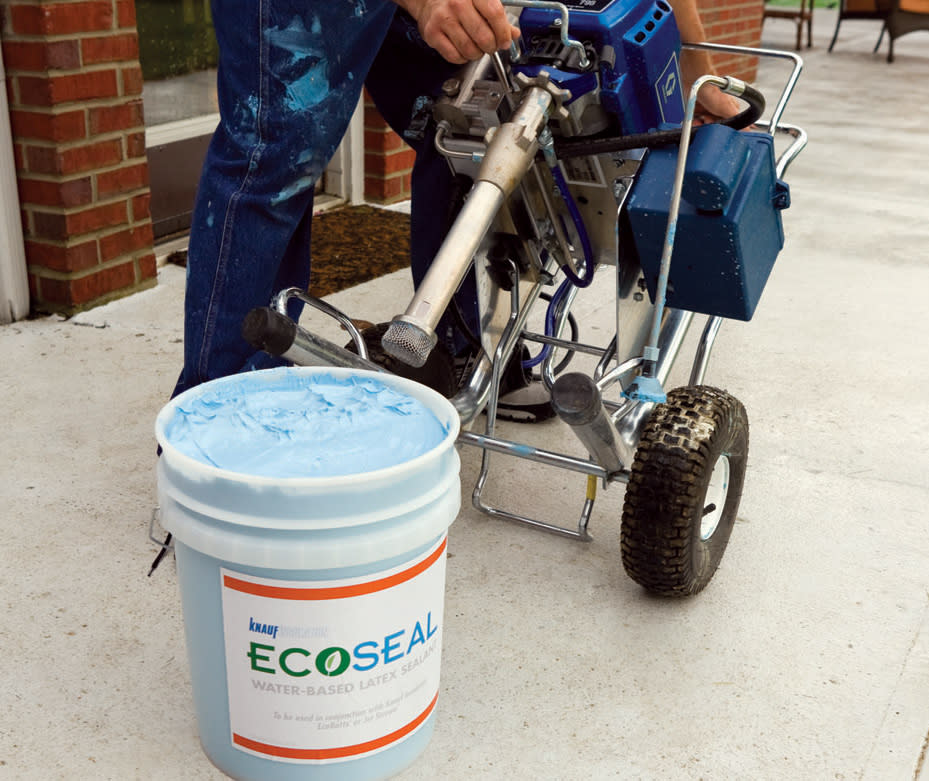
  • Open a bucket of ECOSEAL Plus and place it beneath the sprayer intake.
  • Prop the sprayer legs up on short blocks. This will make sure ECOSEAL Plus can always be drawn into the intake of the sprayer.
EVv32IIWkAEueOM.jpg

3.

Connect Spray Wand Extension

  • Connect the spray wand extension to the spray gun and tighten with a wrench.
  • If you will be spraying tight areas, the extension may not be necessary. Continue to Step 4 and connect the tip guard to the gun directly.
Tip: If the bucket has been sitting in below-freezing conditions, make sure the ECOSEAL Plus is not frozen. If frozen, place in a warm environment and allow it to thaw on its own. If the temperature is below 40° F, a portable space heater or painter’s blanket is suggested for best results.

EVv32IIWkAEueOM.jpg

4.

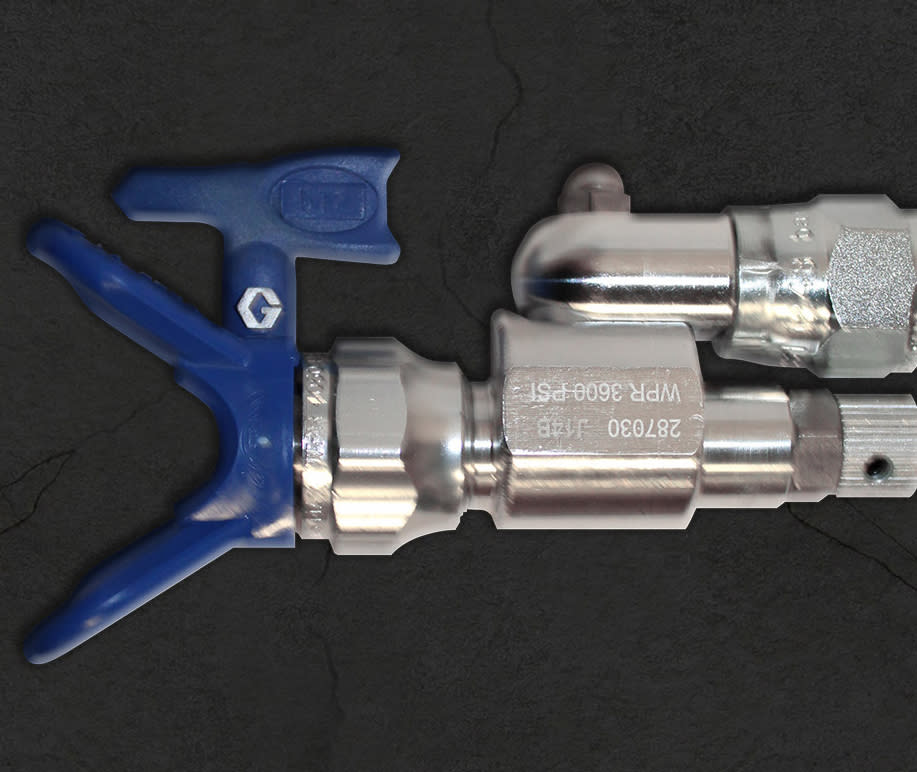
Clean Shot Shut-Off Valve

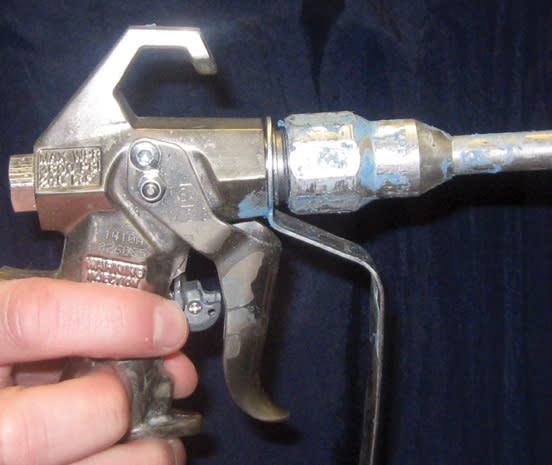
  • Knauf recommends using a Clean Shot Shut-Off Valve with a Rac X tip and tip guard for maximum control during installation.
  • The larger the tip size, the more material the machine is using. Knauf recommends a 013–017 tip size.
EVv32IIWkAEueOM.jpg

5.

Connecting Shut-Off Valve

  • Connect the clean shot shut-off valve to the extension wand and tighten by hand.
  • If material is leaking around the connection point, tighten with a wrench.

Installing ECOSEAL air sealant - clean shot shut-off valve

6.

What if the gun is clogs?

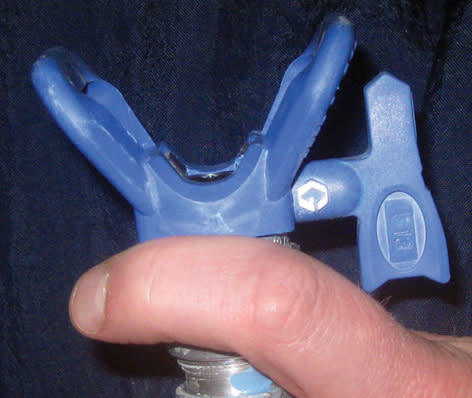
  • Make sure the arrow is facing away.
  • If the gun clogs, wipe the tip clean of excess material and reverse the flow of material by rotating the arrow. Spray for a second and then rotate the arrow back to the original position.

Unclog the ECOSEAL sprayer gun

7.

Flush The Lines

  • Plug the machine in, turn it on and set PSI to 800 flushing the machine of any water or storing solution into an empty bucket. First, flush the discharge tube into an empty bucket by turning the prime/spray valve down. Once ECOSEAL Plus flows from the tube, turn the machine off.
  • Turn the prime/spray valve back to the spray position, turn the machine back on and flush the lines until the product is free flowing from the spray tip.

Flush the lines before applying the ECOSEAL air sealant

8.

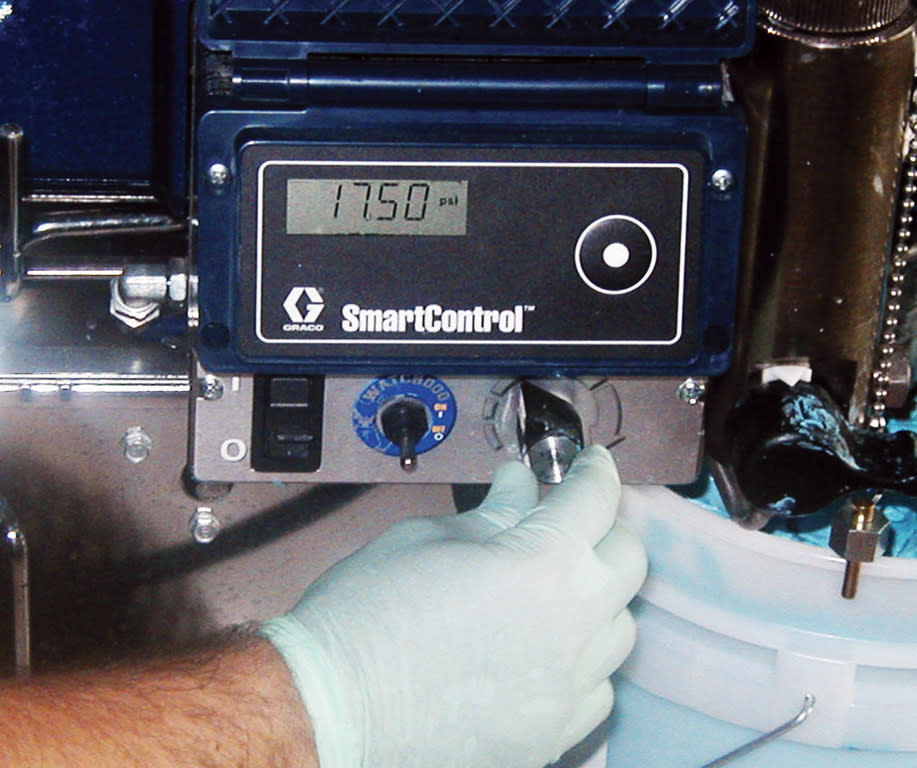
Set Machine For Spraying

  • Once flushed, set the machine for spraying. Start at 2,000 PSI for one gun, and move up or down from there.
  • Depending on the climate, the PSI level might need to be increased slightly.

EVv32IIWkAEueOM.jpg

9.

Cord/Hose Management

  • Unlock and unroll the hose and walk to the appropriate location to start spraying.
  • Unwind the electrical cord prior to rotating the hose reel.

Job Safety Tip: Keep in mind that contents are under pressure, so use caution when pulling the trigger to avoid the material “exploding” into the bucket. Wait until ECOSEAL Plus flows evenly into the bucket before applying it to the structure.


EVv32IIWkAEueOM.jpg

10.

Sprayer Lock

  • Release the lock on the gun and begin spraying.
  • Make sure to lock the gun whenever you are not using the gun. This will prevent any accidental discharge of ECOSEAL Plus.

EVv32IIWkAEueOM.jpg

11.

Workflow To Seal All Gaps

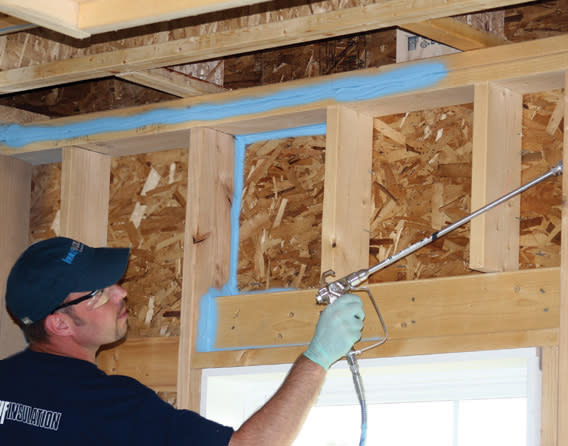
  • Seal all gaps that will allow air to flow into the enclosure.
  • Start in one room, working from the top of the walls to the bottom sealing all sheathing joints and applying drywall gaskets where necessary. This way you have a system and are less likely to miss key areas.

EVv32IIWkAEueOM.jpg

Clean-Up

Disclaimer: The following steps are meant to be recommendations and do not replace or supersede the cleaning instructions and maintenance recommendations of your machine’s manufacturer, found in the machine owner’s manual.
1.

Turn Off Machine

  • Turn off machine. Pull the trigger of gun to relieve pressure; aim so that material flows back into bucket. Place drain tube into bucket with material; turn prime valve to the drain position (down).

EVv32IIWkAEueOM.jpg

2.

Remove Machine From ECOSEAL Plus bucket

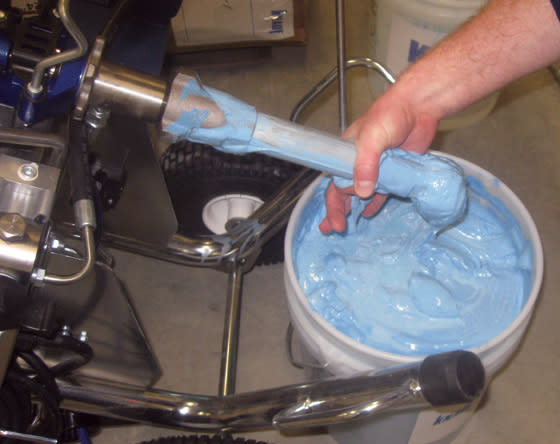
  • Tilt the machine back and wipe excess material off of the intake, and back into ECOSEAL Plus bucket. Remove the ECOSEAL Plus bucket.
  • Place the intake into a clean bucket of water.

Tip: If available, warm water works better than cold water.


EVv32IIWkAEueOM.jpg

3.

Clear Access Sealant From Hose

  • Turn prime valve back to spray position (forward), and turn the machine on.
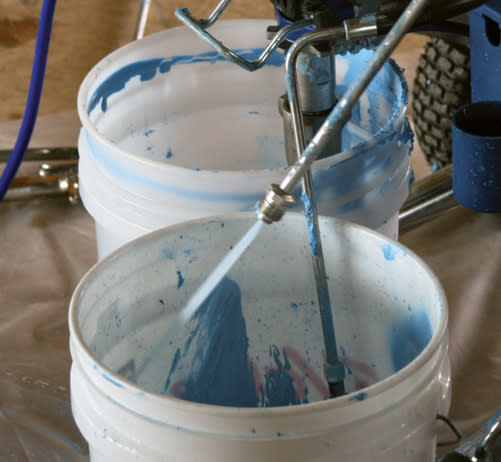
  • Turn pressure to ½, adjusting as needed, and spray gun into ECOSEAL Plus bucket until water appears.

EVv32IIWkAEueOM.jpg

4.

Flush Sprayer Gun

  • Move gun to waste bucket, holding the tip against the bucket to avoid unnecessary overspray, and flush with water until water appears clear.
  • Tip: Removing the tip and guard will allow water to cycle through faster.

EVv32IIWkAEueOM.jpg

5.

Drain Sprayer Machine

  • Turn prime valve to drain position (down) place drain line in waste bucket, flush until water appears clear.

Tip: You will likely need more than one bucket of clean water during steps 4 and 5. When changing buckets, always turn machine off so the pump doesn’t cycle.


EVv32IIWkAEueOM.jpg

6.

Bottle Brush

  • Depending on machine, it may be necessary to remove the intake tube and run a bottle brush through it to remove excess ECOSEAL Plus off of the interior wall of the intake before thoroughly flushing with water.

EVv32IIWkAEueOM.jpg

7.

Turn Off Sprayer Machine

  • Turn machine off and bleed pressure from the machine by turning the prime valve to drain (down).
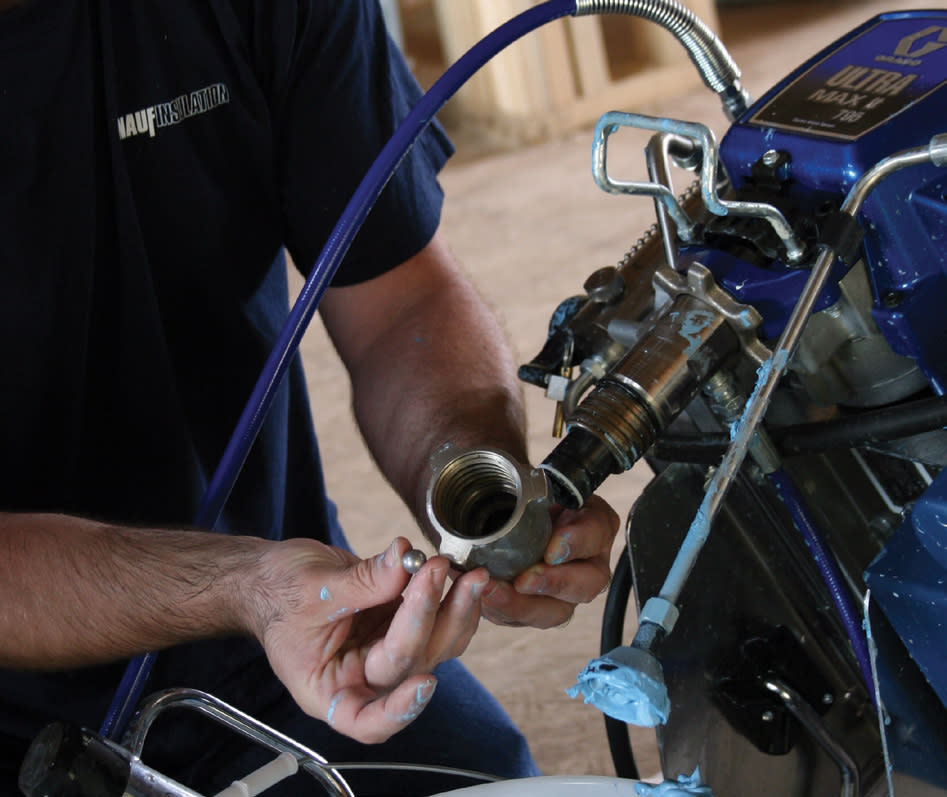
  • Remove the suction intake connector (neck) and clean thoroughly. The three piece assembly includes a seat (beveled washer), a ball, and a float. Assembly should be free of debris and rust free before reassembling.

EVv32IIWkAEueOM.jpg

8.

Reassemble Machine

  • Reassemble as follows: seat (beveled washer) on bottom, ball, then float on top with the narrow end down.
  • Some machines have this assembly fixed in place and cannot be removed.
EVv32IIWkAEueOM.jpg

9.

Storing Solution

  • Flush entire machine with storing solution to leave a protective coating on internal parts, and protect from freezing and corrosion.
  • Once flushed with storing solution, bleed pressure from machine.

EVv32IIWkAEueOM.jpg

10.

Final Wipe Down

  • Clean excess material from exterior of machine, hoses, tip, and tip guard with a damp cloth or nylon brush.
  • The Clean Shot Shut-Off Valve should also be broken down occasionally after flushing with water to assure it is clean.

EVv32IIWkAEueOM.jpg

11.

Annual Sprayer Maintenance

  • A detailed cleaning of the sprayer is recommended on an annual basis. Detach all hoses, disassemble pump, replace all worn seals and O-rings, and clean all parts thoroughly.
  • Always follow your machine manufacturer’s recommendations.

EVv32IIWkAEueOM.jpg